
In today’s digital landscape, managing IT services efficiently is paramount for businesses. AutoTask stands out as a leading platform that helps organizations streamline their operations through effective service management. However, before users can harness the full potential of AutoTask, they must navigate the AutoTask login process. This article provides a detailed exploration of the AutoTask login procedure, security features, troubleshooting tips, and best practices to ensure a seamless experience.
Understanding AutoTask
AutoTask is an integrated IT service management platform that offers a suite of tools for project management, ticketing, billing, and customer relationship management (CRM). Its user-friendly interface and robust features make it a popular choice among Managed Service Providers (MSPs) and IT departments. However, accessing these features begins with the AutoTask login process.
How to Access Your AutoTask Account
The AutoTask login process is straightforward but varies slightly depending on the method chosen. Below are the primary methods for accessing your account.
1. Standard User Account Login
This method involves using your assigned username and password:
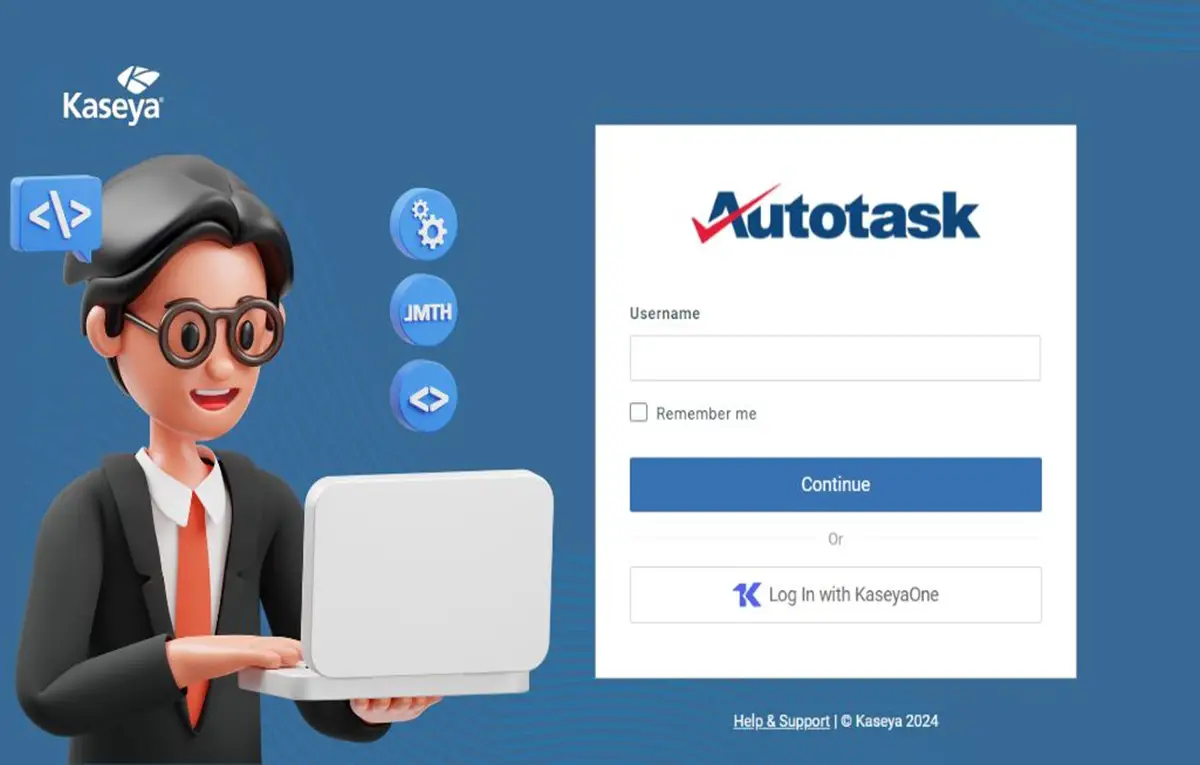
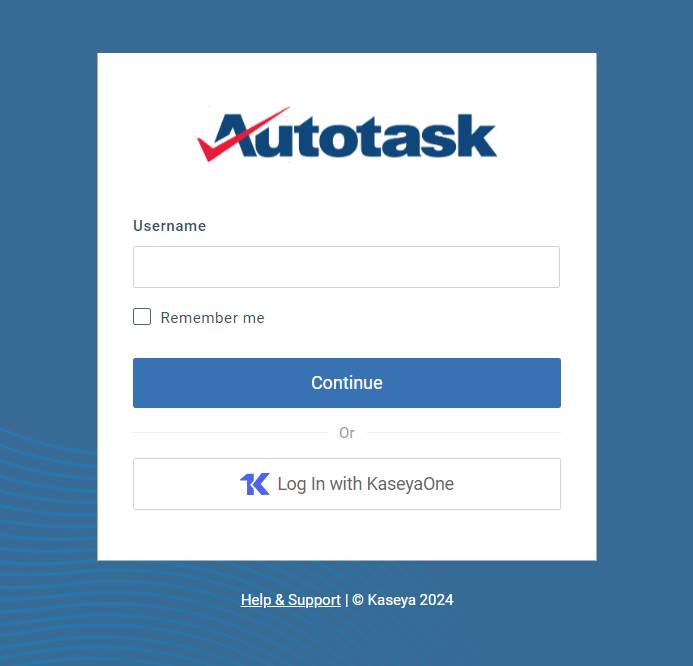
- Go to the AutoTask login page.
- Enter your username and password.
- If prompted, input your authentication code from your authenticator app.
- Click “Login” to access your dashboard.
2. KaseyaOne User Account Login
For users who have integrated their KaseyaOne account with AutoTask, logging in is even simpler:
- Navigate to the AutoTask login page.
- Click on “Log In with KaseyaOne.”
- Enter your credentials on the KaseyaOne page.
- Complete any additional authentication steps required.
3. Single Sign-On (SSO)
Organizations that utilize SSO can streamline their login process:
- Visit the AutoTask login page.
- Select the SSO option.
- Follow the prompts to authenticate through your identity provider.
How To AutoTask Login
To log in to AutoTask, follow these step-by-step instructions:
Step 1: Access the AutoTask Login Page
- Open your web browser and navigate to the AutoTask login page.
Step 2: Enter Your Credentials
- Username: Input your AutoTask username.
- Password: Enter your password associated with your account.
Step 3: Click on the Login Button
- After entering your credentials, click the Login button to access your AutoTask dashboard.
Step 4: Create an API User (if needed)
If you need to integrate with other applications:
- Navigate to Admin > Resources (Users).
- Click on New to create a new user.
- Select API User and fill in the necessary details.
- Generate a key and secret, ensuring you note these down for integration purposes.
Step 5: Configure Integration Settings (Optional)
- If you are setting up an integration (e.g., with Zomentum):
- Go to the Settings > Integrations tab.
- Under third-party integrations, select AutoTask and click Connect.
- Enter the API user credentials you created earlier and configure any additional settings as needed.
Step 6: Complete Onboarding (if applicable)
- If this is your first time logging in, you may be prompted to complete an onboarding process. Follow the on-screen instructions to finish setting up your account.
By following these steps, you should be able to successfully log in to AutoTask and set up any necessary integrations.
Enabling the AutoTask Integration
- Navigate to the Account >> Integrations section within the platform.
- Click on the Autotask tile.

- Provide an Autotask API Username.
Note: The API User is not the same as the Admin user that’s used to login to Autotask. You will need to create an API user to login to the Autotask Integration via Addigy. You can not utilize this integration with an Admin account.
We have an article on how to create an API user in Autotask for Addigy: How to create an API user in Autotask - Provide the Autotask API User Key.

- Click on Get Configuration to fetch the rest of the configuration items from your Autotask account

- Select the Configuration Category
- Select a Material Code from the available values in your organization
- Select the Ticket Queue from the available values in your organization
- Select the Default Product. The chosen product will be created in your Autotask Account
- Select the. Default Configuration Type. The Configuration Type will be created within your Autotask Account.
- The option Use Device Name field as Reference Name in AutoTask will populate the device name in the Reference Name field in the Autotask configuration created.
- The option Sync existing devices using only the Serial Number (Recommended) will match devices from Addigy to Autotask using only the device Serial Number. When disabled, devices are matched on the Serial Number and the Configuration Type.
- Once all the fields are completed, click on the Enabled switch to enable the integration.
- (Optional) Choose what Device Facts to sync to Autotask under the Select device facts to sync to Autotask dropdown.

Note: You may change the above values if you’d like custom naming conventions.
Verification
With the provided API Username and Key we will fetch your Autotask Account Url.
If this process fails we will show you an error message letting you know that your credentials are not valid or do not have sufficient privileges.
Policy Setup
- Navigate to the Policies section of the platform.
- Click on the Settings > Integrated Systems > Autotask section for the policy you want to sync.
- Search for the Autotask account you want to link by clicking Get Accounts.
- Select the account you want to Set.
- A Device Attachment Status section should appear showing the sync progress for the devices within the policy.
- If the sync process fails you can see the error by clicking on View under the Error column for the specific device.
- If any of the devices fail to be linked to the account, you can click on Retry Pending and the process would be re-tried for the unlinked devices.
Conclusion
The AutoTask login process is designed to be user-friendly while prioritizing security. Understanding how to log in effectively—whether through standard user accounts, KaseyaOne accounts, or Single Sign-On—ensures that users can quickly access essential tools for managing their IT services.By implementing strong passwords and utilizing two-factor authentication, users can further enhance their account security. Troubleshooting common issues will help maintain seamless access to AutoTask’s powerful features.
Read More:


